Tuesday, June 13, 2017

7A-2 Turning Old Tires Into Seats

By finding reused tires at a tire store, we decided to transform them into something that people use everyday: seats.  We wanted to make a comfortable and functional seat, that fits every person. First, we went hunting for free tires, which were very easy to find. We washed them because they had a significant amount of oil and dirt. To add aesthetics to the tires, we spray painted the tires with flattering colors that we got from a local hardware store.

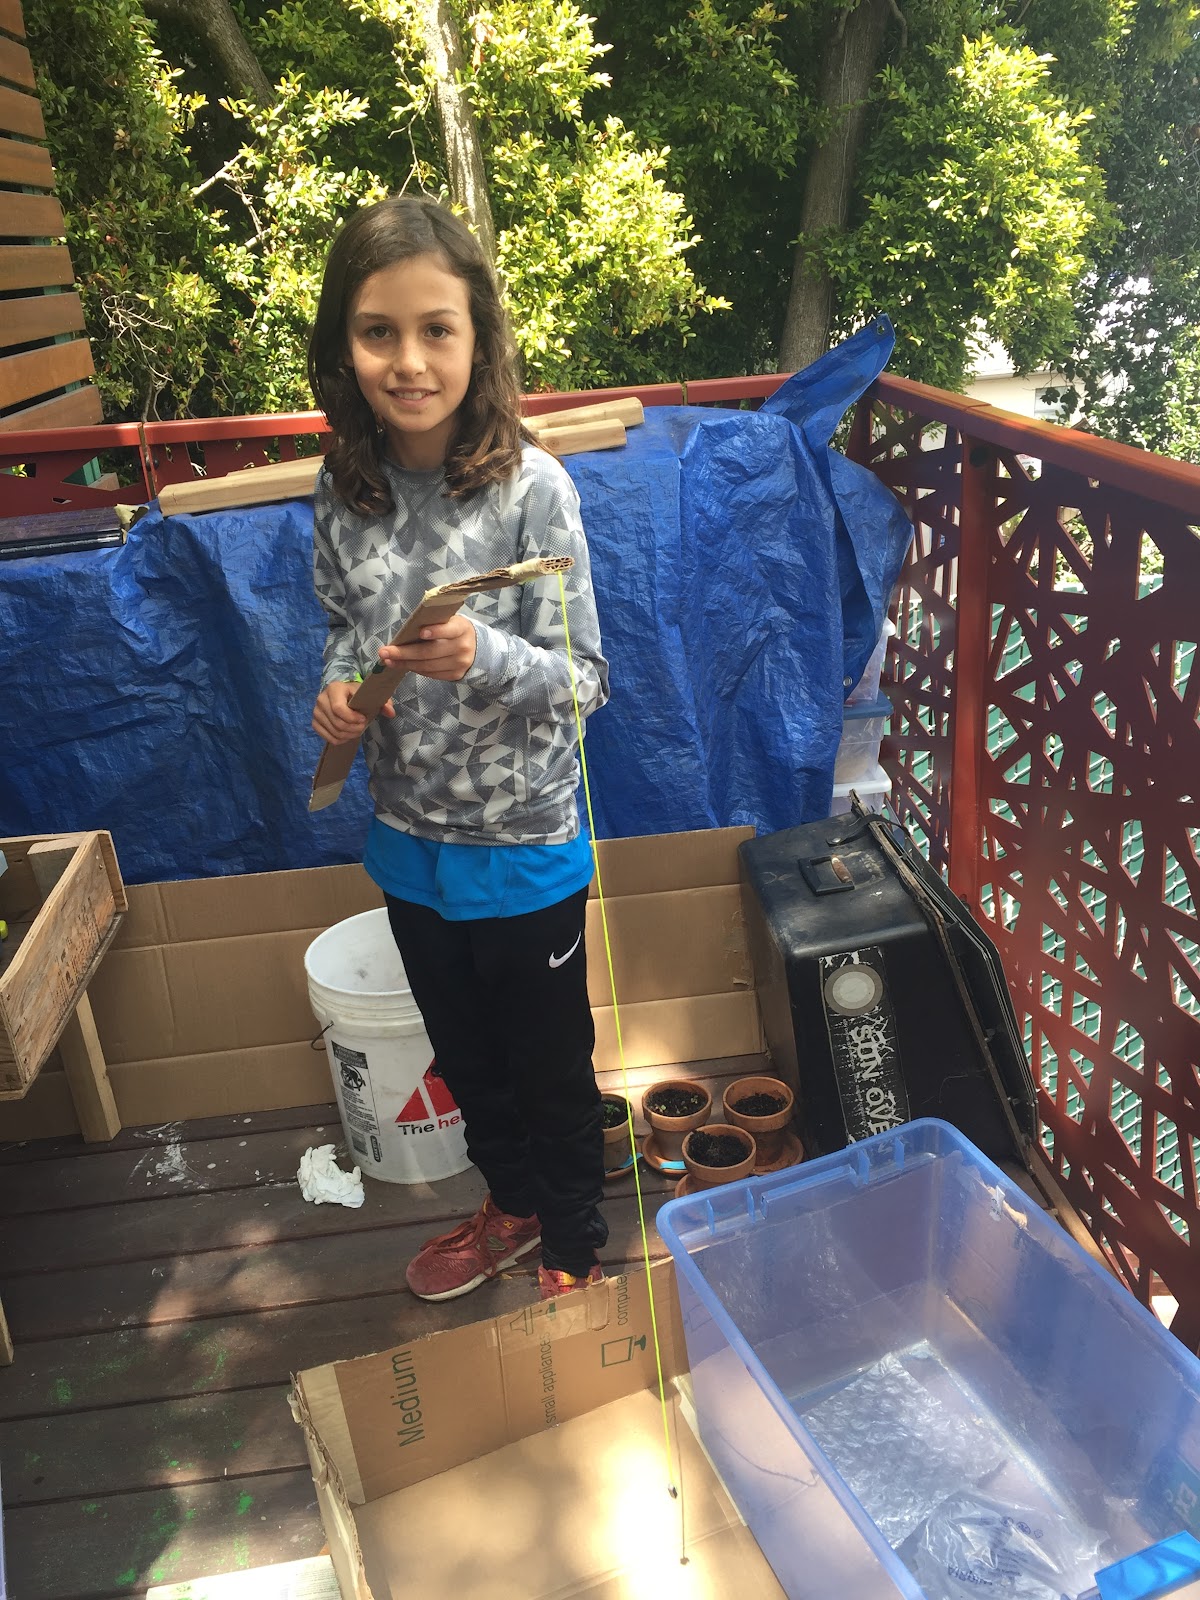
We made two different designs of a tire seat. One had a soft cushion, and space for storage in the tire. To make a storage area we placed two pieces of wood on either side of the tire, and glued the backside with wood, and made our cushion the top of tire and removable. One of the tires had a stretchy, trampoline-like surface.  To make this type of surface we drilled holes into the outer ring of the tire, and put rope through the holes and across the tire.  One challenge we had was when we were using the drill to put holes in the tire, we were not using it correctly.  Therefore the tire started smoking. We learned later that the drill was going backwards. Through the process, we learned how to use a drill, correctly, and how to use a jigsaw. For anyone who would like to do this project, you should make sure you have a tire store close to you, that you can get free or cheap tires from. Also, maybe to have someone experienced while you are using the jigsaw or drill.

On the day of the Maker Fair, we asked people to try both of our seats and then vote on which one they thought was more conformable. The green chair won by ten points, so if you can only do one chairs, we suggest making the green chair which was voted more comfortable. While the blue looks more comfortable and also has storage space, the green one has a bouncier feeling to it. At the maker fair we put the tires on a bench so they wold be easier to use, but if we had more time, then we would have elevated them some other way. We thought about putting two tires together so that the seat was higher up, but we decided we wouldn't have enough time. The cost for each tire seat was about fifteen dollars each. while the tires were free, the paint cord, and fabric were not.

Here's a link showing how to make tire seats: Link (Although we did ours a little differently)


7B-5 1920's Style Dress


Our Maker Fair project is about how we made a 1920's style dress in a week. The process on how we made it is first we both drew our own designs of the dress and went back to shared our ideas with each other. After we both saw each others ideas we put them together to create a rough draft of the design. Our inspiration for this project was historic fashion. We both wanted to do something important in the history timeline and we also wanted to do a project that would be fun.

We engaged in our project by first creating a rough draft of the design we wanted. But if we ever came upon a challenge, what we did was first to think about the different possible ways to fix it. When we found the perfect rough draft of the dress, we found out that we didn't have the fabric color we wanted. Luckily, Ms. Mytko had some extra fabric in her class room that worked perfectly.

IMG_4458.JPG

Things that we learned in the process were how you have to make sure you add a few inches to the original measurements, because otherwise the dress would become smaller when it is sewed together. We learned a lot about how patterns will affect the dress to make them better. Another we also learned was that you do not need a lot of fabric to create a nice dress.

If we had more time to create this dress, we would have gotten more fabric, we would have cut the dress more evenly, and we would have added more designs to the final dress. More things we could have added includes, more length to the dress and more accessories.

Our advice for the upcoming class who are doing this project, is to research what your project is because that will help you in the end. Also to work at home because that will really help with your final project to make it all the better. Another thing is to always stay focused because otherwise if you goof around you wont have as much time to work on the project, and if you have more time you can perfect it.

The final coast of our project was $0! We only used recycles fabric because we wanted to help the environment.

Tuesday, June 6, 2017

6A-8 The Carbon Footprint of Food


 In a 6th grade science class, we were told to make a maker faire project targeting an environmental issue, and show a possible solution in a fun, interactive way. So being the imaginative geniuses that we are, we thought to ourselves, “Hey, what could possibly go wrong with making a poster about CARBON FOOTPRINT? Yeah that’s definitely not too general an issue. Let’s do it!”


Of course, it didn’t go well. About halfway through our poster creation one of us said,”Hey hold on a second, isn’t this project supposed to be kind of-- interactive?”. (Cough. Cough.) There was a pretty awkward silence. Scratch that, this silence was REALLY awkward. I mean, I was pretty sure one of us was just going to burst into tears any moment. So we brainstormed. How we could make a project about carbon footprint interactive? It was just too broad a topic. So naturally, despite our stupidity, we finally figured out that we needed to narrow down our topic. Well we were feeling pretty hungry by now, (At least I was, because I didn’t have breakfast.) So on an impulse, we decided to center our project around the carbon footprint of food. After all, we were fairly sure that people eat food on a daily basis. (We forgot to check.) So we got to work. 

We decided that we would make meals that people could rank from highest carbon footprint to lowest carbon footprint, because we had already made a table of best foods for the environment in our aborted attempt at a poster. We basically just started throwing random foods from the table into the meals, and then editing the list of random foods into feasible looking meals that people might actually want to eat, specifically NOT three lamb patties thrown between two beef patties and smothered in cheese and mashed potatoes. So, everything will be well oiled and working, right? Wrong. Turns out, one of us wanted to work on making meals for the people to rank, while the other wanted to make a kind of make your own meal station. So by now, we really didn’t know what we were doing. We decided that one person would make the “Make your own meal” station, and one would make the meals. 

So about a week later, we had finished our project. Fine and dandy. The work was done! The ordeal was over. We finished putting card stock on the food pictures, and went outside to set up our maker fare station. You know something? Setting up a maker faire station is actually surprisingly hard. We got down stairs, got out our stuff headed over to the table, and… nothing. We didn’t know how to prop up our poster. You see, we had forgotten to actually make something for the station’s stability. I guess we just figured that the poster would magically stand up by itself. Nope. Not even close. The maker fare was starting in about five minutes, and we still didn’t know how to put up our station. Oops. That was pretty stupid. We looked at each other. We looked away. Then we ran. We sprinted up the stairs of the Q Lab, burst into the science room, and looked around wildly for some form of sturdy material. 

Well it was about then that a very helpful fellow walked in: Julian R. Unlike us, Julian actually KNEW WHAT HE WAS DOING. He also happened to know where we could find cardboard, which was exactly what we had so intelligently neglected to find. We grabbed our cardboard, and rushed down the stairs. By the time we got to our table, the maker fare had already started. How convenient. It must have looked very strange to everyone to see two students desperately attempting to tape a multitude of papers onto a large cardboard piece, and yelling at each other in the vague hope that one of us had some semblance of a plan that would save our stupid hides. 

Anyways, we finally managed to get the stupid thing propped up, which left us about five minutes to frantically look at other people and their projects before we had to man our station. Our method of inducing people to come to our station was something like this: one of us would step up with a yardstick and gesture wildly at our project yelling,”Step right up, step right up folks! Try your hand at the wonderful meal ranking station!”like it was a circus exhibit or something. Anyway, folks eventually came to the station, probably because they were annoyed at us for yelling, and just wanted to get us to shut up. The station didn’t go too badly, if I do say so myself, although it wasn’t as good as we wanted it to be, due to the fact that our brains are the size of shriveled prunes. But hey, it worked. And in the end, it kind of came up being a metaphor for humanity and our newfound struggle to save the environment, because just like humanity, we don’t really know what we’re doing.

6A-10 Gone Fishing

Gone Fishing
IMG_8925.JPG
We were inspired by the book World Without Fish because it show how bad overfishing can be so we decided to make a game that taught people how to fish responsibly.  This is the order of events that went into making our game:
  1. First we brainstormed environmental problems.
  2. Then we got the idea of overfishing as our focus
  3. Design rules for the game
  4. Buy Magnets and bring string
  5. Make fishing pole with cardboard, string, and a magnet
  6. Make tank with cardboard and hot glue
  7. Program the Makey Makey
  8. Design fish on tinkercad to 3D print them out and glue magnets to them
  9. Play
We decided do this idea because we really liked the cardboard arcade and we wanted to make something like it.
If we had more time we would like to make more fish.  One challenge that we had was that we didn’t have enough fish and we overcame that challenge by just using less fish. Another challenge we had was time. We partly overcame that by working really hard, but we should have managed our time better anyways.
When the Maker Faire started some people didn’t take our project seriously and tried to kill all the fish, but a majority of the people that played our project understood what it was about and thought it was cool.
After completing our project we gained experience in programming on scratch. We also learned how a Makey Makey works and if we had had more time we would have painted our project and made different kinds of fish that could have cost differently.
Using the principles of Maker Faire (Creativity, Curiosity, Persistence, ect.) people can solve environmental issues easier than ever, because the main part of creating a solution to a problem in the world is thinking outside the box and not giving up when one idea doesn’t work. 

- By Séamus and Eli

Monday, June 5, 2017

6C-2 Recycled Planters

Our Maker Fair project was reusing wine bottles as self-watering planters. We got our inspiration from the Beach Cleanup field trip. The problem of waste is a big one in our community, and we became very aware of this in the 6th grade Beach Cleanup. People tend to throw away, or even litter things that can be used in many other ways. Our project was a pretty easy one: that is part of the reason why we chose it. The people looking at our project could actually do the project themselves! At the beginning, we were taking our time. Then we started to realize that we should get started. We had picked out our bottles, but we were having a lot of trouble cutting the first one! That was our biggest challenge. It was made of very thick glass, as we found out later. We started to delay cutting that particular bottle and we cut the others instead. We ended up using our recess time to cut some bottles, but it was worth it! Thankfully, we completed it on time, but we were very close to not doing so! The people who saw our project were very surprised that we cut the bottles using our method! They had positive reactions, and they enjoyed the project a lot (I think)! I learned that you should definitely not procrastinate: Luna and I have learned our lesson from this project! If we had more time, I think we would have planted actual seeds to grow in the planter instead of transplanting the sunflowers the day of. That would have been a more reliable experiment. We should learn from the values of the Maker Fair that even if you think your environmental solution won't work, you have to try it to see the result. You have to always think out of the box! Even if it seems crazy, everything is worth a try.

A (very) helpful video: 3 Ways To Cut A Glass Bottle

-  Ellie & Luna

6B-5 Eco-Friendly House In A Hill

         Anna And Sarah's Eco-Friendly          House In A Hill


Screenshot 2017-06-02 at 11.27.08 AM.png

Sarah: For our inspiration, I tuck a trip to Vienna during the February break and visited the hundertwasser house in which there was a model of a house model called wunderkammer. It was an underground house and there were passages, people, waterways, horses, and little balconies and cool windows and doors. I wanted to make and eco-friendly house, or a tiny house. Anna wanted to make an underground house. We compromised and made an eco-friendly underground house. Wunderkammer was so cool, and I wanted to do something like that. 

This project addressed the problem of global warming caused by carbon emissions. If you can have a house that doesn’t use coal or natural gas or anything, then you can reduce your own carbon footprint by a large component. We also had sheep and horses, and we were going to have a garden, but the seeds did not come in time.... If you grow your own food, get milk from sheep (cows cause methane emissions), then you get cheese, butter, milk, and maybe even ice cream. And if you have an electric car, with solar panels, wind turbines, geothermal energy powered house, or something that does not use non-renewable energy sources then you can really reduce your carbon footprint.
Anna: Also you do not have to destroy a natural land mass to get a home you can just work with it and get something gust if even more cool.
We began by making the structure out of paper mache and since we didn’t have fake grass, we made the grass out of sand and using green paint as coloring and glue. It turned out better than we expected.  


Anna: Next we stated to decorate, added minny solar panels(which are so cute!!)


Next we made a lawn for the house to sit on by using the same technique we used for the grass on the house.


Know it is time to DECORATE!! First we will make some trees. To make some trees we need some balsa wood for the truck and felt for the leafs and we picked some cool shapes for the top.


Then you can add whatever you whant to the house. We added some animals and a pond. We wanted a house that looked something like this,
So we added black pepper that slanted in to recreate that effect. This is our final product that we tuck at the maker fair right before we put it all on display.
We wanted to do a 3D inside but we did not have the time or the money so we did a 3D digital model and asked each person to contribute to the inside. If you what to see the inside just click Here ! You can add something to the inside!

This project was noe as easy as it sound we originally wanted our house to look like this
But in the end we did not have the time or the money to do this. We also are not very good at building models but we solved all this by finding something that we could do in a short amount of time and for only 30$!! What we did was easy and we managed to make it look really cool! I think if we had more time we would have definitely made something like the house you see above! If everyone something the would help the environment (it could be as little as buying organic food to as huge as moving to an environmentally friendly home.) it would really help the world out a lot.  

6B-10 Vegan Food

Vegan food by Sabine, Simone, and Sabir

For our Maker Faire project we made vegan desserts. Our inspiration was that we wanted to spread awareness about how eating meat products, and especially cows, harmfully contributes to global warming. We also wanted to show that vegan food can we just as good as normal food. 

Avocado Chocolate Pudding was one of our 3 recipes and the link above has the recipe. Eating vegan can improve your diet, and be good for the environment at the same time. Livestock requires a lot of water, to feed the animals, but also to maintain the fields and grass around it. California is in a drought, and the production of livestock has not helped. 

We wanted to do something interactive for our project so we thought we could demonstrate that vegan food could be good, and that their is a perfectly good reason to go vegan. We faced some challenges in having out first try at a recipe not being very good. The first time we made the Avocado chocolate pudding, it did not work out and did not taste good at all. We also kept on forgetting to bring the ingredients so for that day we couldn't do what we had planned. 

A solution to this was to send each other reminders to bring ingredients and make all the recipes more than once. If we had more time, our next step would be to make the regular version of our recipes and then have people compare them without knowing which one was which.

by Sabine, Simone, and Sabir

6B-7 CAUSE and EFFECT

http://www.noaa.gov/resource-collections/ocean-pollution
http://ocean.nationalgeographic.com/ocean/explore/pristine-seas/critical-issues-marine-pollution/

Reading on the environment when we were brainstorming. We thought that the issues were so big that we needed to tell every person at the maker faire about them. The problem we were trying to address, was that we were destroying the ocean by putting in pollution. We also showed how the pollution we are putting in affected animals, by showing the story of the death of the animal on the back. The process of designing our project involved drawing pictures or taking them off the internet (shown above), and drawing/writing a story of how it happened, then coloring both sides of it.

 We came up with this idea by wanting people to understand that the ocean is polluted, and we choose to show it by using cause and effect. John and I faces a lot of challenges. We changed our project 3-5 times, starting with a watered filtered basketball game to show people that they can filter water, to a flow chart that explains about water pollution with blackboards to ask questions after, to our final project, CAUSE and EFFECT. It took time to overcome these, but with help from a teacher you can figure something out, and that is what we did.The reactions were quite the same, sad mopey faces.If we had more time we would probably make more cause and effect flip papers.The people who saw our project will now be able to confront the issues that we are stating. The learners/viewers can then help the world by helping the animals in trouble get out of trouble. The learners and viewers can check the story of the animals they are eating by asking the person who is selling their food, I highly recommend this because then you can figure out where your animal is from, how they died, and who farmed/caught them.

- Eliot and John

Endangered Species


The inspiration for this project was the growing number of endangered species. As more and more species became endangered we felt the need to teach people that they can help do their part to save these species. Our project addressed the problem of animals key to the world's ecosystem dying off because of humans destroying their habitat or hunting them.

Andy and Bodie 2.JPG

Since visuals are a BIG part of understanding we decided to, not only type a couple of paragraphs for each animal, but we also use pictures and an interactive Arduino kit. If we had more time I would have made a less complicated system for how the Arduino tells you why the animals endangered. People's reaction to our project was that we need to protect endangered species and make sure that they stay alive. We can learn from maker values that we shouldn’t wait for someone else to come up with a solution we should instead do it ourselves. We need to think outside the box and be creative to solve big environmental problems. We can also use young activists as an example, because they overcame age created creative solutions to big problems.

By Andy and Bodie

6A-7 mini greenhouse


Lucy and Simone.jpgWe built a mini greenhouse! The inspiration to building our mini greenhouse was when our class started building them in science. However, we never finished so we decided to continue as our maker faire project. 

Our project was important to the environment because it showed how easy it was to grow your own plants and greenhouse saving time, money, and resources! 

We got the idea of building our greenhouse because there were pieces of the wood that was used to make them (with our class) in the classroom, which reminded us of the greenhouses and that they weren't finished. 

We faced a challenge when we came back from the weekend before maker fair and our plants had been knocked over by the wind and the soil along with the seeds (radish and carrot) had fallen out. We fixed our problem by replanting the seeds, and, two out of the four seeds grew a little in time for maker faire! 

Most of the people who saw our project were surprised we built the greenhouse, which was funny, and they thought it was cool that the interactive part of our project was that they could plant their own plants.  We learned how easy it is to grow something and how easy it is to make something so cool (the greenhouse). We also learned how you can help the environment by making something that doesn't even take that much effort.  We think that if you work together, put in effort, and are flexible about challenges you might face, you can solve any issue!

- Simone and Lucy

6C-6 Attempt Your Own Bicycle Powered Blender.


We used this video while trying to make our blender bike: Build Your Own Bicycle Powered Blender.
We did not know what to make, because none of our ideas overlapped, so we were looking at the suggestion sheet Ms.Fryke gave us, and we saw Blender Bike, and BOOM, something clicked.
Motor of blender
    Maya and Nikki at the Maker Faire


Before                                                       After (We did not finish)


We showed that you do not have to use electricity while using a blender. We had the wrong type of blender, so the right part would not stick out enough. Not very many people visited our station, but the few people were interested. We learned that it is really hard (if you don’t have experience) to cut with a power tool, and that we needed a lot more time. If we had more time we would assembled the box [on table(bottom right)] and attached it to the bike rack then to the bike. 
- Maya and Nikki

6A-4 BPC Maker Faire Project: A Energy Effective Home

The Home Blog

The Story of Our Maker Faire Project


By Sarinah R and Ian S


       The inspiration for this project came from a video on youtube about a couple living a no energy usage home. It inspired us to try to create an energy efficient home for a low income family. We picked a low income family because there are some really popular and expensive ways to help the environment, like solar panels, but we wanted to show that there are other things you could do to limit usage.

The Pre-show Documentation
DSC08283.JPGThe environmental problem our project addresses is that a lot of wasted energy that the earth has comes from everyday people, like you or me. We can do a lot to try to reduce that energy, but some of the options are too expensive for normal households. We came up with cheap, simple tips for families that can’t afford things like solar panels. Some ideas we had were reusing water from the washing machine, turning the heat off and lights down and using sunlight instead, and having a garden full of vegetables for meals.


The process of designing our project was difficult because although we quickly constructed our model house, we had trouble finding actual stuff to put in it. We thought that we wouldn’t complete on time, but we put in the extra effort and came in to work during our free time.


We came up with our idea by sitting down together and discussing ways to limit usage of energy. We came up with so many ideas we decided to represent them in a model house.


A challenge we faced as we worked on our project was building the actual the actual house. We had to figure out how to get the walls up and also how to work in the time constraint.
We overcame these challenges by coming in at recess and really focusing on the project. We taped the walls up.
Maker Faire
Ian and Sarinah.JPG

The reactions other people had to our project were positive. People liked to look in our house and at our garden and see all the ideas we came up with. People also read our poster and saw the drawings we did to clarify.


We learned a lot of different ways to improve energy usage in your home from our project. We saw simple tips, innovative ideas, and much more.

If we had more time, we would want to find more ways to improve energy usage in low income homes. We could learn from the values that you should create something that everyone could do and we think that our project did just that. Since we created it for a low income home, everyone could do it.


Here are a few tips of what you can do to make your home more energy efficient, some of which we used, and some new ones.


6A-3 Aquaponics


Finn.jpg


I got guidelines on how to build this system from inhabit.com.


My project was to address both overfishing and chemical farming.  My solution was aquaponics.  An aquaponics system is the most productive agricultural system per square meter, and that would solve both overfishing, as there would be enough fish, and it would not require chemicals or GMOs (genetically modified organisms).


I was inspired to do this project by a fish pond.  My grandparents have a fish pond in their backyard, with a 16 pound fish.  However, the pond got infested with algae and the fish died(actually, 2 fish died, but one of them was due to a careless sibling with a net).  I than got back home.  After that, I found out what was in fish food.  I learned that the fish are scooped out of the ocean with nets big enough to hold 12 airplanes, and ground up, along with whole chickens.  I thought this practice was wasteful, and very bad for the environment.  I then thought of a system that required no inputs, and that is how I came up with my first idea.


I had come up with the idea of an aquaponics system after I realised it would be very hard to make a self sustaining system for fish that required no inputs of oxygen or food.  Even then, I still ran into many challenges.  I did not have enough time to finish my whole project, and I did not have enough time.


If I had more time, I would first want to finish my project.  However, I think if I had finished my project, I would then think about ways to grow the plants in a more nutritious soil, so I can grow more energy giving plants without fertilizer.  I would also think about making the tank bigger(currently it can only support one fish).  I would also think about making the system completely self sustaining, with solar panels for the pump and aerator, and fish feed on the top.

From this project, I learned a lot about raising fish.  Although I was familiar with the concept of the aquaponics system, I learned a lot of important details on the system, such as having a 6 to 10 inch soil depth, and having 10 gallons of water per fish.


Many people were impressed by my project, not because of the project, but because they thought I put a lot of hard work into the project.  Everyone thought I did a good job, and they thought my idea was cool.


I think we should learn from this project that we are all we need to develop environmental solutions, and that we are able to make change.  I think we should also learn we will all need creativity and curiosity to help the environment.  We will need logic and core to help us, but without curiosity and creativity, we will get nowhere.  We should also learn we do not have to work alone and claim all the credit for something - an environmental solution will benefit all of us.

6B-6 Our Ocean Wave Of Trash

Ruby Sculpture.JPG
Our inspiration was really from when we went to the ocean cleanup. We were shocked at how much trash was washing up on the shore! We were also really upset that so many animals were being harmed from our trash. By making our wave, we hoped it would raise awareness in our community. The environmental problem we were addressing was the fact that we are polluting our ocean with tons of trash and it is hurting sea life. We want people to stop using so many non-reusable, plastic things! When we became partners, we actually both had the same idea of doing a trash filled wave! 

    Starting with chicken wire we built a very big wave and tried to paper-mache it. The paper mache did not work out...We decided that we needed to make a smaller wave, but still with the same idea. We stuffed our new wave with trash and it was done! When people saw our project, they wanted to know what exactly it was/what it was for of course. After we told them, they usually stayed for a second looking at the trash, and then went to get lemonade or sorbet… Both of us learned that you need to persevere, but if we had more time, we would definitely make a bigger wave to have a larger impact. From Maker Movement values, we can learn that YOU can help our environment, and you don’t need fancy machines or professionals.

- Ruby and Rosie

7A-5 Branch Light Fixture

        For our maker project we chose to make a light fixture out of branches. Our inspirations were modern lights and nature. We both really liked the idea of incorporating light to art and nature. This project will hopefully be enjoyed by anyone who can appreciate the mysticality of nature and lights. Our prototype was based off of modern lights pictures on pinterest. 

A lot of the time, we just think of lights as . . well . . . lights! But turning light into an art form is taking it to the next level, and a visually pleasing level might I add. Our project had a 100 dollar budget, which didn't present much of a problem to us. The constraint that presented a bigger problem was time. Although we had quite a bit of time to work on the project, we had wasted A LOT of time using wood glue instead of hot glue. We realized after using wood glue to attach several branches to the platform we had created, that the glue would take too long to dry and we couldn't hold the branches in place forever. We switched to using a hot glue gun to attach the branches to the platform, and that proved to be much quicker. 


Although the hot glue worked to put the branches we used onto the platform, we recommend if the branches you are using are fairly heavy, that you use wood glue. Luckily, the branches we used were very lightweight so we could use hot glue. 

In the process of creating our branch lamp, we learned quite a few useful things. The most important thing we learned was how to use a jigsaw. Without the jigsaw, our circular platform would have been a lot harder to cut! 

Sunday, June 4, 2017

7C-2 Eternal Terrarium


 Eternal Terrariums 

    Over the course of a week I created two sustainable biomes. I was inspired by a video of a man who created large and small terrariums with a range of plants and insects inside. I wanted to create the terrariums so that I could observe the way the plants and insects behave without human interaction. 

    Of course this whole process was carried out at school so there were a few constraints, like time, cost, and storage space. But since I did a fairly small, simple, and inexpensive project, none of these were a problem. 

Like I said my project was inexpensive a six pack of half gallon mason jars would be about $20 and all of the things inside the mason jar were free. The only piece that could possibly cost you something would be the gravel or sand at the bottom of the jar. 

   I made the terrarium by first cleaning out the jar with water, then placing four dots of hot glue it won't scratch or roll on your table (you can place the glue so that the jar rests vertically or horizontally). Next you fill about an inch of sand or gravel in the bottom of the jar for drainage. Than I put soil from our school garden over top of the stones. Once the soil was set I sprinkled it with some water and then collect plants (I recommend succulents and or cactuses because they are hearty and can adapt to changing environments well). If you want your plants to root better you should collect them then place them in a water tight container with some water in it. So they are partially submerged in the water. Then leave the submerged plants for 24 hours. Once the plants have begun to sprout roots go ahead and begin to arrange the plants to your liking. You may also add bugs if you would like. Just keep in mind the terrarium will replicate a rainforest like environment so the bugs must be able to survive in that kind of climate. I would advise that you use less water in the beginning then add more at the end of your process. I found that as I added water throughout the process it began to flood the terrarium. 

    It can be hard placing the plants how you like or how you think they should be with just your hands. I was really struggling to place the plants but then I realized I could use tweezers to place the plants in an apeeling and successful way. Throughout the process of creating these biomes I have learned that if something is not working and there is nothing you can do about it it will fix itself (at least as far as plants go). My only wish is that I had more time to create more terrariums in more innovative containers. 

   I added a 3D printed mushroom in each of my terrariums to add a pop of color and just make them a little more magical. You can also add any small plastic toy or figurine you like. I find it makes each one unique the way the plants and insects reclaim the man made object can be fascinating.

7C-7 Duct Tape Hammock


The duct tape hammock. A colored lattice of adhesive taping for the objective of relaxative use. Yes; it worked. And no; not that kind of laxative. Our hammock was inspired and based off of the article by Lance Akiyama from Make. It’s designed with crystalline-diamond and rainbow duct tape hues, double-reinforced with uv-resistant gorilla tape, and  when tethered by suitable counterweights, our hammock can hold over 150 pounds.


Photo by Sam Hill


We faced many challenges throughout the making process. We toiled with the challenge of unsticking already folded duct tape, we found a solution in cutting out the ruined, folded tape. However, this solution changed the coloring scheme of the duct tape because we did not have enough colored tape. You can see this in the photo above. Another challenge was creating our hammock under the constraints we were given; limited resources and limited time. And you might be thinking; why meddle in the tedious process of making a 40$ hammock yourself when you might easily buy one? For the pride of making.


 And what have we learned from all this? We learned how it is nearly impossible to unstick two pieces of duct tape adhesive. We also learned the valuable process of deductive reasoning. The next step to do is to make it again, on a larger scale. Create a duct tape hammock that can hang from giant redwood trees 50 feet above the ground. If you are energetic enough to try out this project, then make sure you have backup materials, and to be very cautious. One mishap can lead to hours of tedious extra work. And always remember-if you can buy something; don’t buy it. Make it.